
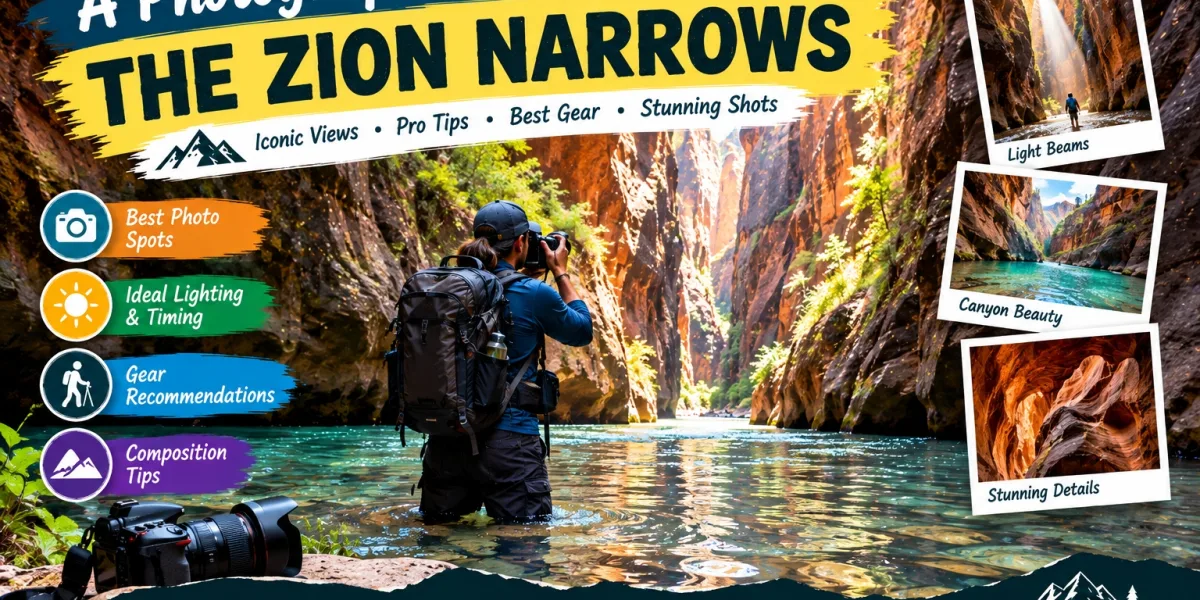
The Narrows is one of the most photogenic hikes in the national park system, but it's also one of the more technically challenging environments to shoot in moving water, shifting light between canyon walls, and gear that needs to survive hours of wading all complicate what looks like a straightforward "point and shoot" hike.
Timing for the Best Light
The canyon walls block direct sunlight for much of the day, which actually works in photographers' favor — the resulting soft, even light is far more flattering than the harsh midday sun found on more exposed trails. Early morning, shortly after the trailhead opens, tends to offer the added benefit of fewer people in the frame, along with occasional light beams cutting into the canyon when conditions align.
Protecting Gear in a Wading Hike
This is the detail most photographers underestimate before their first Narrows hike. A standard camera bag isn't built for hours of exposure to splashing water and occasional full submersion risk. A dedicated dry bag, ideally one built for the specific size of your gear rather than a generic oversized option, is worth the investment. Some photographers use a chest-mounted dry case to keep gear accessible without constantly digging through a pack.
What to Shoot
- The narrowest sections, where the canyon walls close in dramatically and scale becomes the main subject.
- Reflections and light beams, especially in the late morning when direct light occasionally breaks through the upper canyon.
- Wide shots that include a person for scale — the canyon's height is difficult to convey without a human reference point.
- Water texture and movement, using a slightly longer shutter speed where tripod use is practical.
Gear Recommendations
A mirrorless or weather-sealed camera handles the humid, splash-prone environment better than an unsealed DSLR. A wide-angle lens (16-24mm range) captures the scale of the canyon walls more effectively than a standard kit lens. For those shooting primarily on a phone, a floating phone case and a small dry bag for backup storage go a long way toward avoiding a ruined trip.
Planning the Shoot Around the Hike Itself
Photography adds significant time to the hike — stopping for shots, waiting for light, adjusting gear — so it's worth budgeting more time than a standard hiking pace would suggest. This guide on hiking the Narrows without a guide covers permit rules and gear basics that apply regardless of whether photography is the main goal, which is useful context before adding camera gear into the mix.
Final Thought
The Narrows rewards photographers willing to prioritize timing and gear protection over rushing through the hike. Slowing down for the soft canyon light and protecting equipment properly makes the difference between a handful of usable shots and a genuinely strong portfolio from the trip. Travel and outdoor sites like ToperNews occasionally feature destination-specific photography tips like this alongside their broader trip planning content.


